

Tiramisu is probably one of the most popular desserts, I get to prepare at the bakery. We go through several sheets of this multi layered marscapone filled dessert very, very quickly. I also find it one of the trickiest desserts to slice through because it is so delicate. One accidental touch can lead to a bad disaster that can be hard to fix because the sweet creamy filling is too soft. But it is also one of my favorite desserts that I used to order every year for my birthday while in grad school. What I find fascinating about this dessert is the cookie that holds it all together and today I’m sharing a recipe that makes a lovely batch of dark chocolate flavored ones.
Ladyfingers/Savoiardi are used as building blocks to many desserts and they are surprisingly easy to prepare at home, so I found out recently. The technique is very similar to making the genoise cake. It basically involves a lot of air incorporating via whisking aggressively followed by a little bit of gentle folding, that’s really all there is to it! Except for the fat in the egg yolks, there’s no other fat added to the batter so this cookie is rather dry which helps, when you use them in constructing desserts such as tiramisu. Think of them as efficient liquid sponges, they will absorb and hold flavors well and make you one very happy dessert consumer!
Here are some of my kitchen tips when preparing these cookies;
- I used a 100% dark unsweetened cacao because I want the color of the cookie to be pretty dark brown in color but if you want a lighter color you can use 60-70% cacao.
- Work quickly and avoid the temptation to over-mix the batter.
- Ideally you would dust the cookies with a little confectioner’s sugar but I skipped this step as I did not plan on eating them directly.
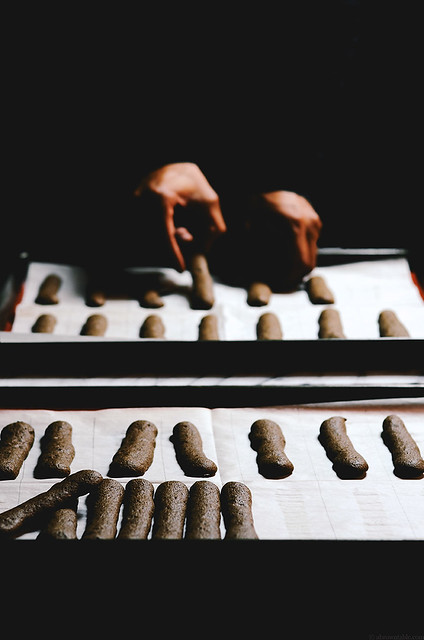
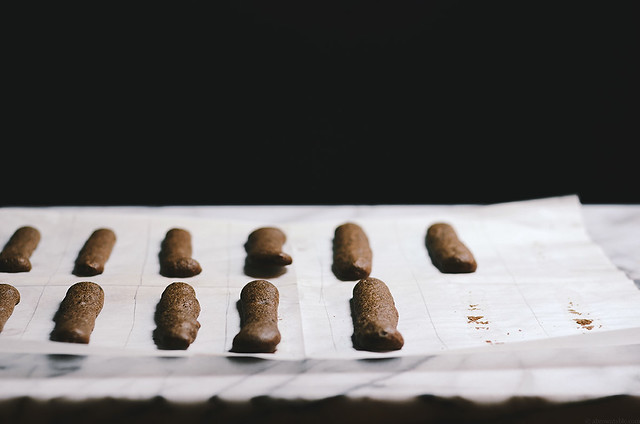
- The cookies do expand on baking which is why I find it easier to bake them on a parchment paper that’s pre-marked into rectangles.
- You will notice that I use a silicone mat and a sheet of parchment to bake these cookies. The silicone mat really helped prevent burning and gave me even baking on each cookie while the parchment paper was helpful in drawing out the size of the ladyfingers. You can also play around with the sizes of the cookies to suit your needs.
I’ve adapted this recipe from the Baking and Pastry: Mastering the Art and Craft by the Culinary Institute of America.
chocolate lady fingers
yields: about forty 3 inch cookies
ingredients
3 large eggs, cold and separated
1/2 cup (3 1/2 ounces) fine grain sugar
1/2 cup + 1 tablespoon (3 ounces) all purpose flour
1 tablespoon + 1 teaspoon cornstarch
2 tablespoons + 1 tablespoon unsweetened dark cocoa powder (100% cacao)
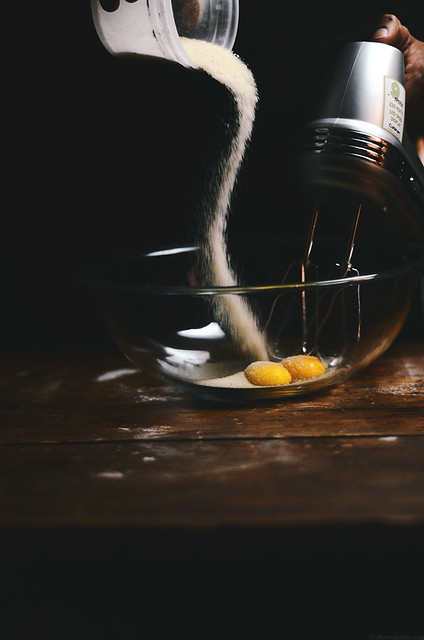
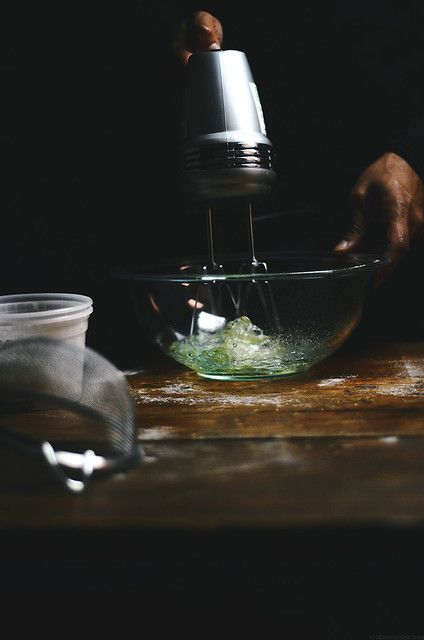
1. Place a wire rack in the center of the oven and preheat the oven to 400F. Place the 3 yolks with half the sugar in a large mixing bowl. Using an electric whisk, beat the yolks on high speed for around 6 minutes until they turn pale yellow and creamy. They will expand in volume as air gets incorporated.
2. Place the egg whites with the remaining sugar in a large mixing bowl and whisk with an electric mixer for about 3-4 minutes on high speed until the egg whites form soft peaks. The whites will expand and triple in volume.
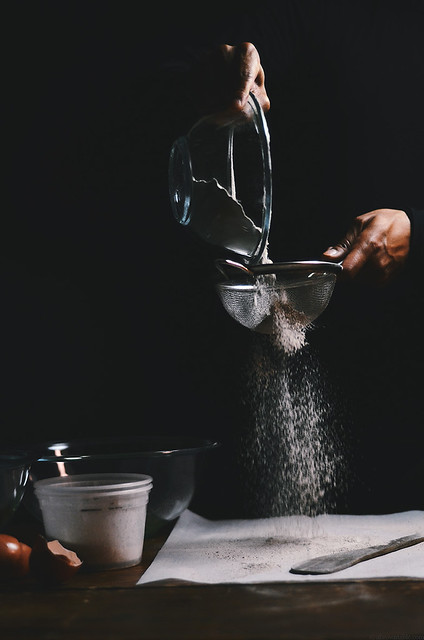
3. Sift the flour, cornstarch and cocoa together, three times and keep aside.
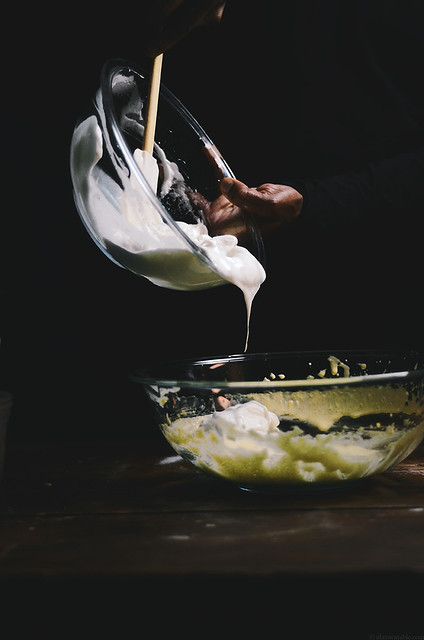
4. Fold the eggs whites into the egg yolks using an outward to inward circular motion using a silicone spatula. Do this folding motion 4 times. There is no need to over-mix at this stage. Sift the pre-sifted dry ingredients over the eggs and the using the outward to inward circular motion, fold the ingredients until no visible specks of flour are visible. The mixture will deflate a little as you fold but it should not be completely flat.
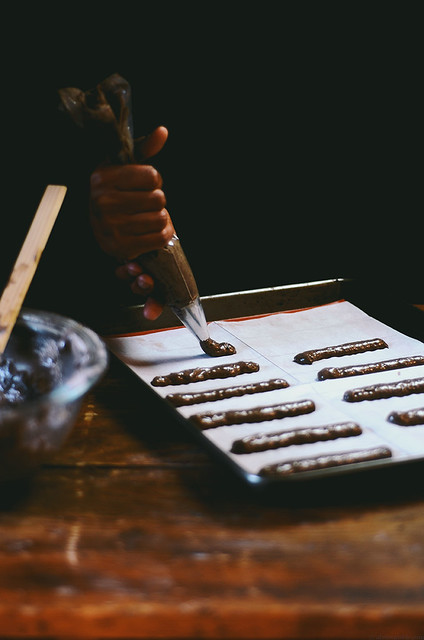
5. Line two baking sheets, each with a silicone mat and a sheet of parchment paper. Using a pencil mark the parchment sheet in half and then divide each half into 7 equal sized rectangles. Repeat with the other half. Fill half of the cookie batter into a pastry bag fitted with a large #1 round decorating tip and pipe out one 3 inch long strip of batter in each rectangle. Bake one sheet of cookies at a time in the oven for about 6-8 minutes or until the edges of the cookies are just firm to touch. They should not be browned or they will be overbaked. The cookies bake very fast so keep an eye on them. Repeat with rest of the batter to prepare the remaining cookies. Cool the cookies on the parchment paper before removing and transferring to an airtight container for storage.

9 Responses
I think this is the first time that I stumble upon chocolate ladyfingers. They must be a great base for so many desserts!
Why to buy ladyfingers when you can bake self! Wonderful!
These photos are SO stunning, Nik! And chocolate ladyfingers… how delicious they must be. I haven’t seen a chocolate version of ladyfingers before, and wow, they look incredible.
they look delicious!! and those photos…omg!! on another note, do you think it’s possible to construct a chocolate lady finer house?? think gingerbread, but lady fingers?!?!
Thank you, Jess. Yes, I think that should work and I think you have an amazing idea there. Do it!!!
I can eat Tiramisu every.single.day! And this post would come super handy when I get back to baking. As usually stunning action shots.
Genius idea! And I swear your photos just keep getting better and better! Super gorgeous and dramatic, Nik! <3.
Oh yes! Chocolate ladyfingers make tiramisu even more drool worthy. Kinda like those photos. 🙂
How long can they be stored?